
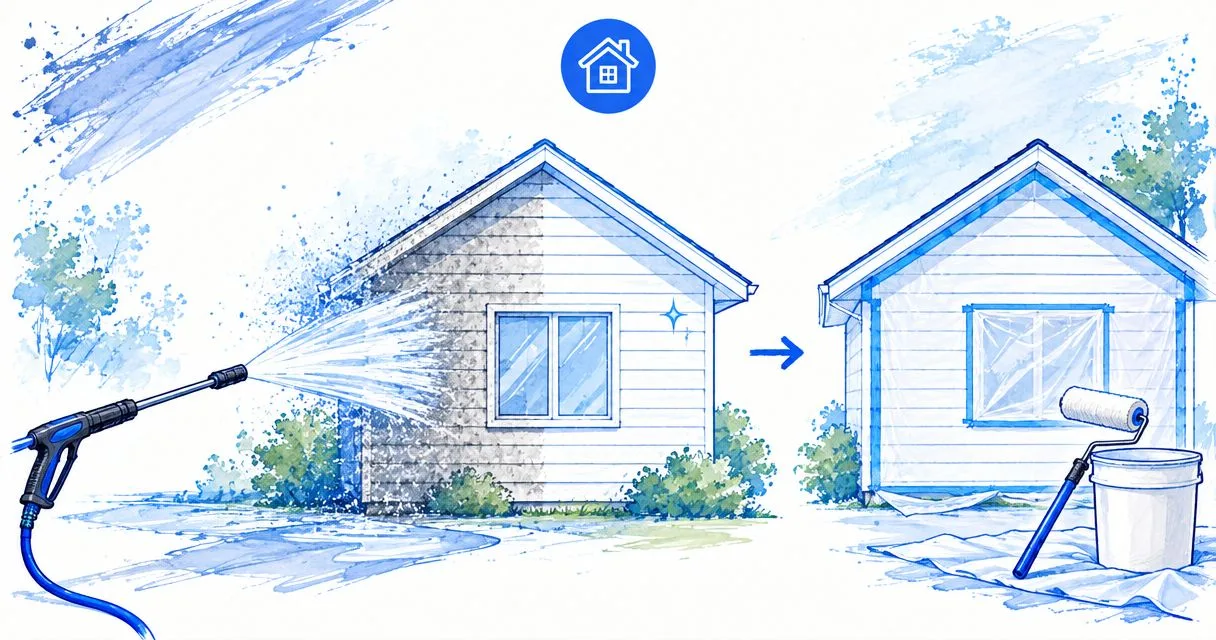
Instead of repeatedly washing dirty patches as your painter works, plan pressure washing before painting exterior surfaces as a separate cleaning, drying, and inspection workflow. Wash with a method suited to the material, then let the painter confirm that the surface is ready for repairs, primer, and paint—not just clean-looking.
- Pressure washing before painting exterior surfaces removes contamination; it does not replace repairs, scraping, or primer.
- Lavarecleans provides exterior cleaning for homeowners in Santa Barbara, Montecito, Ojai, and Ventura.
- Choose the cleaning method by surface condition, not by the pressure washer available.
- Paint readiness depends on dryness, sound material, and the coating manufacturer's requirements—not a fixed waiting period.
Why this matters
Paint needs a clean, sound surface. Coastal salt film, hillside dust, loose paint, and cleaner residue create different preparation problems. Turning up the pressure does not solve all of them. It can damage vulnerable siding or drive water through gaps.
Lavarecleans is best for homeowners in Santa Barbara, Montecito, Ojai, and Ventura seeking local residential exterior cleaning. You can request a free in-person quote through Lavarecleans and explain that painting is the next step.
For a 2026 exterior repaint, separate the cleaning scope from the painting scope before either crew starts. Cleaning removes contamination. The painter determines what needs scraping, sanding, repair, priming, and coating. Neither task substitutes for the other.
Before you start
- Gather the surface information. Identify the siding or masonry, existing coating, visible damage, and intended paint system. Have the coating instructions available, along with safe water access and a plan to protect plants, windows, and electrical fixtures.
- Agree on responsibilities. Ask who handles washing, runoff, loose paint debris, repairs, moisture assessment, and final approval to paint. Share photographs of high walls, narrow access, and delicate finishes before scheduling.
- Resolve the hidden hazard first. If the existing paint's age or lead status is unknown, arrange an appropriate assessment before washing or disturbing it. Water blasting can spread contaminated chips; suspected lead paint requires lead-safe planning, not an ordinary wash.
You also need a weather window that suits both cleaning and coating. For your 2026 schedule, keep the painting start conditional on actual surface conditions rather than treating the washing date as a guaranteed countdown.
Surface assessment and cleaning method
- Map the surfaces. Walk around the home and distinguish wood, stucco, masonry, metal, and trim. Note deteriorated coatings, exposed edges, cracks, soft wood, and staining beneath gutters.
- Flag water-entry points. Identify failed seals, open joints, vents, damaged flashing, and poorly closing windows. Ask the appropriate trade to address defects before water is directed nearby.
- Choose a compatible method. Follow the surface, coating, cleaner, and equipment instructions. Use the least aggressive method that removes the contamination without harming the substrate.
- Approve 1 test area. Select an inconspicuous patch and inspect it after cleaning. Stop if the treatment lifts sound coating, roughens wood, loosens material, or forces water indoors.
Expected result: You have a surface-by-surface cleaning plan and a successful test patch. You have not assumed that the whole house tolerates the same treatment.
Which cleaning approach fits the surface?
These are cleaning approaches, not interchangeable settings. Each has a useful role and a limit.
| Approach | Best for | Advantage | Limitation |
|---|---|---|---|
| Controlled pressure washing | Sound surfaces whose manufacturer permits it | Removes attached dirt with mechanical action | Can damage vulnerable finishes or drive water into openings |
| Low-pressure washing with compatible cleaner | Surfaces needing cleaner action without aggressive blasting | Reduces reliance on force | Requires correct chemistry, protection, and thorough rinsing |
| Hand cleaning with a soft brush | Small areas and delicate details where permitted | Gives close control around vulnerable features | Takes more hands-on work and does not resolve underlying defects |
Choose by material and condition, not by speed. An intact masonry area and weathered wood trim do not justify the same approach simply because they share a wall.
Site protection and washing sequence
- Clear access. Move furniture and loose objects away from the work area. Keep children and pets away from equipment, hoses, cleaners, and runoff.
- Protect vulnerable areas. Close windows and doors. Coordinate protection for plants, outlets, lights, and nearby surfaces using the relevant product and equipment instructions; do not seal over ventilation without an appropriate plan.
- Plan runoff. Identify where wash water and debris will go before starting. Follow local requirements and prevent paint chips or contaminated wash water from entering storm drains.
- Apply the selected treatment. Follow the cleaner's label for dilution, application, contact time, and rinsing. Do not mix cleaners or let a product dry on a surface contrary to its instructions.
- Rinse and inspect. Work systematically without spraying into joints, beneath siding, or through vents. Use safe ground-based access or trained professionals rather than operating a pressure washer from a ladder.
Expected result: The intended contamination is removed without visible surface damage, trapped cleaner, or water intrusion. A patch that still looks dirty gets reassessed, not automatically blasted harder.
For a practical access checklist, see how Ventura homeowners should prepare for pressure washing. Tell the cleaning crew about fragile landscaping and any room where a window has leaked before.
On a coastal Santa Barbara home, point out salt-exposed walls. On an Ojai hillside property, identify dusty sheltered areas. These observations help define the job; they do not replace testing or manufacturer instructions.
Drying and paint-readiness checks
- Allow the assembly to dry. Assess shaded walls, joints, trim ends, and repaired areas separately. A dry-looking face does not establish that moisture beneath it has cleared.
- Check for residue. Perform 2 cloth checks on separate representative areas: use a clean, dry cloth to look for loose powder, then a clean, damp cloth to check for removable residue. Persistent powder or residue needs further assessment, not paint over the top.
- Check moisture appropriately. Have the painter follow the coating manufacturer's moisture requirements. If a meter is appropriate, use equipment and settings suited to the substrate; do not apply a wood reading threshold to masonry.
- Complete coating preparation. Have the painter assess loose coating, failed caulk, bare areas, cracks, and damaged material. Repairs, scraping, sanding, and primer depend on the substrate and selected coating system.
- Release the surface for painting. Confirm the forecast and the paint manufacturer's application conditions. Reinspect if rain, irrigation, dust, or another trade's work has affected the wall.
Expected result: The painter accepts a clean, sound, sufficiently dry surface under the selected coating instructions. The washing appointment alone is not approval to paint.
Use 3 checkpoints for your 2026 project: Clean surface, Dry substrate, and Painter approval. Each checkpoint answers a different question. Keep the sequence visible in the job notes so a schedule change does not erase a necessary inspection.
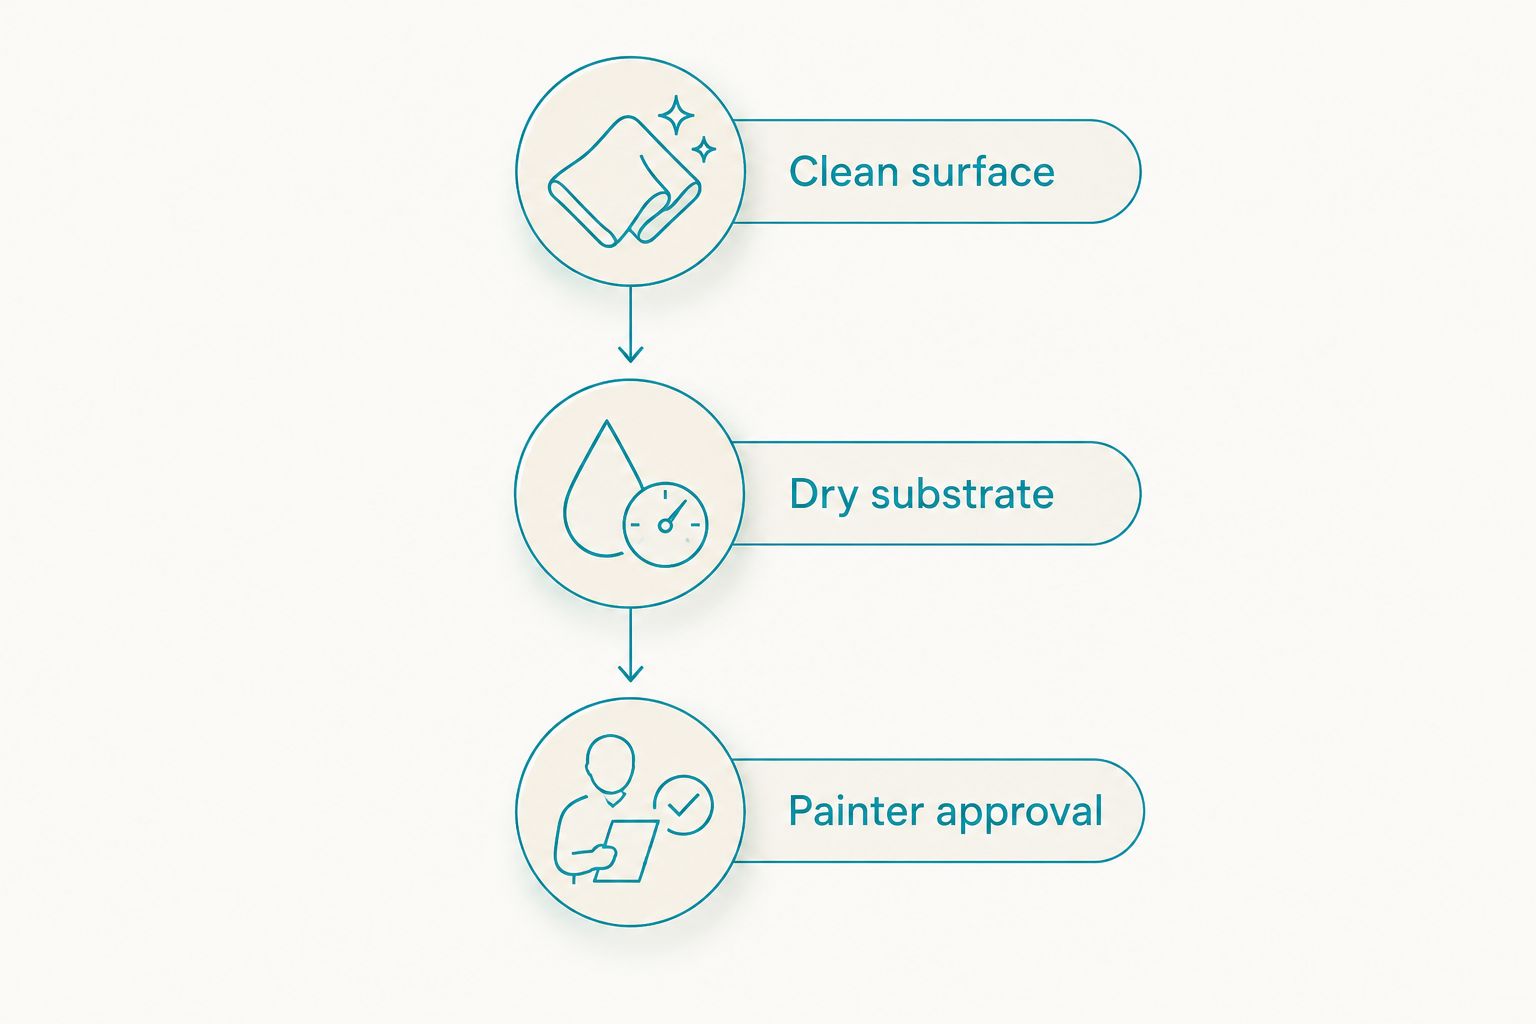
Do not use a universal waiting period as your acceptance test. Weather, material, exposure, and water entry differ from wall to wall. Ask the painter what evidence establishes readiness for the actual coating you selected.
Painter handoff and scheduling
- Record what was cleaned. Note the surfaces, cleaning products used, unresolved staining, and any areas deliberately left untreated. Give this information to the painter.
- Walk the problem areas together. Point out chalking, failed seals, damaged wood, and places that stayed damp. Separate remaining dirt from coating failure or material deterioration.
- Assign the remaining work. Confirm who performs repairs and final preparation, then who approves painting. Avoid a gap where the cleaner assumes the painter will handle a defect and the painter assumes it is already resolved.
- Reconfirm conditions before coating. If the start date moves, inspect again. New dust, sprinkler spray, and windblown debris can change a previously accepted surface.
Expected result: The cleaner and painter share the same finish line. Your 2026 schedule follows the surface's condition rather than an assumed interval between appointments.
Lavarecleans offers local exterior cleaning, but a cleaning quote is not a painting specification. Discuss the scope in person, ask which concerns need a painter or repair specialist, and keep those responsibilities separate.
A second workflow: cleaning before localized paint touch-ups
A small paint repair does not automatically require washing the whole elevation. Start with the touch-up area and its surrounding surface, then ask the painter how to prepare it without creating a visible mismatch.
- Inspect first. Confirm whether the issue is dirt, staining, peeling coating, or damaged material. Cleaning alone cannot repair a failed coating.
- Clean the necessary area. Use a compatible method and avoid aggressive spot washing that leaves a rough patch or damages neighboring paint.
- Dry and reassess. Let the painter inspect the cleaned area before determining repair, primer, and repaint boundaries.
- Recheck the surroundings. If preparation creates dust or residue, remove it according to the coating instructions before painting.
Best for: Localized repairs where the surrounding finish remains sound. The benefit is a smaller work area; the limitation is that old and new paint can still differ in appearance. Washing does not guarantee an invisible touch-up.
Troubleshooting
Powder still comes off the wall
Persistent powder can indicate a chalking coating rather than ordinary dirt. Stop treating it as a pressure problem. Have the painter assess how much unsound material needs removal and what preparation the coating system requires.
The wall looks dry, but joints remain damp
Do not approve paint based on the exposed face alone. Check shaded details, joints, and the substrate using the coating manufacturer's requirements. Investigate recurring moisture before proceeding.
Wood looks fuzzy or the finish looks etched
Stop washing and reduce the risk of further damage. Have the affected surface assessed before continuing; damaged wood or coating needs preparation, not another cleaning pass. Revisit the method on a test patch before treating adjacent areas.
Dirt returns before the painter arrives
Find the source before repeating the wash. Sprinklers, nearby dusty work, and windblown debris need different responses. Reclean only as needed, then repeat the drying and acceptance checks.
Staining remains after the surface is clean
Do not chase every discoloration with more pressure. Stains, corrosion, coating defects, and biological growth need different assessments. Ask the painter whether the area needs further cleaning, repair, or a compatible stain-control primer.
Customize your workflow
Keep window cleaning in the plan year-round, but coordinate its timing with the painter. Cleaning glass before dusty preparation or painting can mean doing it again. Ask who protects the windows and who handles final glass cleaning without damaging fresh coatings.
Check gutters before washing walls if overflowing water is contributing to staining. Keep solar panels outside the wall-washing scope unless a separate, suitable cleaning plan is agreed. If holiday lighting is installed, coordinate access and fixture protection rather than spraying around electrical connections.
Lavarecleans provides window, solar panel, gutter, pressure-washing, and holiday lighting services. Its local crew can discuss the cleaning scope during a free in-person quote. The promise is to return and make it right if you are unhappy; paint preparation and coating acceptance still belong in the painter's scope.
Request a free in-person quote
Discuss exterior cleaning, access, and the handoff to your painter.
FAQ
Should you pressure wash an exterior before painting?
Clean the exterior before painting, but use pressure washing only where the material and its condition permit it. Delicate or damaged areas need a gentler approach, and cleaning does not replace repairs or coating preparation.
How long should you wait to paint after pressure washing?
Wait until the substrate meets the paint manufacturer's dryness and application requirements. A fixed waiting period does not account for shaded walls, trapped moisture, weather, or different materials.
Can pressure washing remove all the old paint?
Pressure washing is not a substitute for controlled removal of unsound paint. Trying to strip a wall by increasing pressure can damage the substrate and spread paint debris.
Is low-pressure washing better than pressure washing before painting?
The better method is the one compatible with the surface, existing coating, and contamination. Low-pressure cleaning reduces reliance on force, but still requires suitable chemistry, rinsing, and protection.
What if the exterior paint might contain lead?
Resolve the lead concern before washing or disturbing the coating. Arrange an appropriate assessment and lead-safe work plan rather than allowing ordinary washing to spread chips and contaminated runoff.
Can I paint over a wall that still leaves powder on my hand?
Do not assume a powdery wall is paint-ready. Have the painter assess the chalking and follow the selected coating system's preparation requirements before applying primer or paint.
Does an exterior cleaning appointment include painting preparation?
Only the agreed scope establishes what an exterior cleaning appointment includes. Confirm responsibility for scraping, sanding, repairs, caulking, primer, moisture checks, and final painting approval before work begins.
One last thing
Ask who can stop the painting start. Put that decision with the person responsible for coating readiness, not whoever controls the calendar. For your 2026 repaint, a clear handoff is more useful than a promise that every wall will be ready on the same day.