
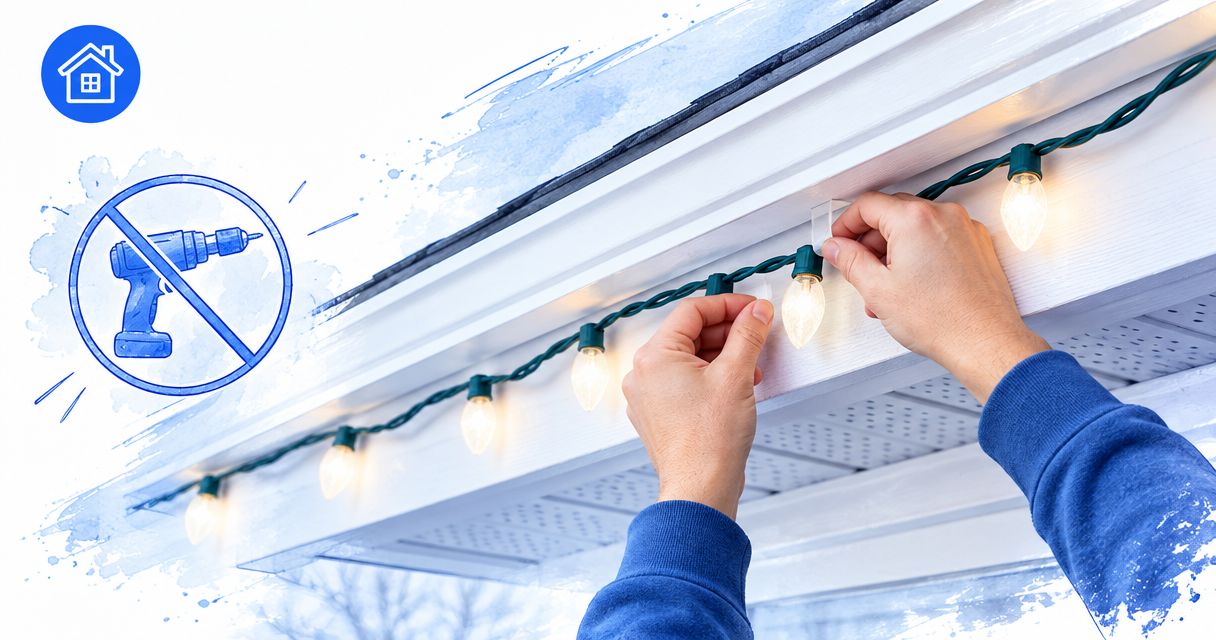
Yes, holiday lights can be installed without drilling into trim by using removable clips matched to gutters or suitable trim edges, outdoor adhesive hooks on approved surfaces, or freestanding supports. No drilling does not mean no risk of damage: the attachment must suit the surface, carry the intended load, and come off without pulling paint, bending an edge, or disturbing roofing.
- Holiday light installation can avoid drilling when removable attachments fit the home's surfaces and the lighting load.
- Gutter clips suit compatible gutter edges; adhesive hooks need an approved surface and outdoor rating.
- No-drill attachments still require careful installation and removal to protect paint, gutters, and trim.
- Lavarecleans serves homeowners considering holiday lighting in Santa Barbara, Montecito, Ojai, and Ventura.
Why this matters
A neat roofline is not worth a chipped fascia board or a gutter pulled out of shape. The attachment method deserves as much attention as the light color, especially when your home has older paint, delicate trim, or a roof edge that is difficult to reach.
For your 2026 display, decide where attachments can safely go before choosing the lighting layout. Lavarecleans provides holiday lighting alongside residential exterior cleaning in Santa Barbara, Montecito, Ojai, and Ventura. Start the conversation with what you want protected, not just what you want illuminated.
Can holiday lights be installed without drilling into trim?
Yes. A suitable removable attachment can hold holiday lights without making a new hole in the trim. The right choice depends on the actual edge or surface available, not simply whether a package says no-drill.
Use this comparison to discuss your 2026 installation. These are attachment categories, not a claim that every home can use every method.
| Attachment method | Best for | Main advantage | Main limitation |
|---|---|---|---|
| Gutter clips | Compatible, sound gutter edges | Avoids fastening directly into trim | Fit varies; a loose, damaged, or guarded edge needs assessment |
| Nonpenetrating trim clips | Trim profiles the clip manufacturer approves | Uses an existing edge without a screw hole | Wrong sizing or excessive tension can mark or stress the finish |
| Outdoor adhesive hooks | Smooth surfaces approved by the hook manufacturer | Works without an accessible clipping edge | Surface condition, weather exposure, and removal affect suitability |
| Freestanding supports | Ground-level displays away from delicate trim | Keeps attachments off the house | Needs suitable placement, stability, and a safe cord route |
Avoid treating nails, staples, and screws as interchangeable alternatives. They penetrate the surface, and staples or other unsuitable fasteners can damage electrical insulation.
Gutter clips: best for compatible gutter edges
Gutter clips attach to an existing gutter edge rather than requiring a hole through fascia or trim. They are a practical starting point when the gutter is sound and the clip is designed for its profile and the lights being installed.
The trade-off is fit. A clip that slides easily into place is not necessarily secure, and a clip that requires force is not necessarily correct. Gutter guards, unusual edge shapes, and damaged sections can change the attachment plan.
Ask the installer to identify the exact contact point. Lights should not depend on a loose gutter section for support, and cords should not interfere with drainage. If oak leaves have collected in the gutter, address that maintenance separately rather than hiding it behind the display.
Choose gutter clips only after confirming the fit and condition of the gutter. Do not bend an edge to make an unsuitable clip work.
Nonpenetrating trim clips: best for matching trim profiles
A removable clip can work around trim when its shape matches a suitable edge. That distinction matters: a clip designed for one profile does not become suitable for another because it can be pushed into place.
Inspect the finish first. Flaking paint, soft wood, cracked edges, and loose trim need attention before anything is attached. A removable fitting can still catch a paint edge or leave a pressure mark on a vulnerable finish.
Window trim also needs a clear boundary. Do not obstruct a window's operation, cover drainage openings, or route a cord where closing the window pinches it. Keep lights and attachments clear of moving parts.
Use trim clips for an approved fit, not as a universal solution. If the profile does not accept the clip cleanly, change the mounting location rather than forcing the attachment.
Outdoor adhesive hooks: best for approved smooth surfaces
Outdoor adhesive hooks offer a no-hole option where there is no suitable edge to clip onto. Their usefulness depends on the manufacturer's instructions for the surface, load, application conditions, and removal method.
They are not a blanket answer for painted wood, stucco, brick, or weathered trim. Texture reduces contact, and weak paint can come away with an adhesive even when the hook itself releases as intended. An outdoor rating does not mean approval for every exterior finish.
Coastal salt film around Santa Barbara and Ventura, or hillside dust around Ojai and Montecito, gives you another reason to inspect and prepare the contact area. Follow the attachment manufacturer's cleaning instructions; do not assume a quick wipe makes every surface suitable.
Use adhesive hooks only when the surface and conditions meet the instructions. Keep the removal directions available until takedown. Pulling a hook away from the wall is not a substitute for following its release procedure.
Freestanding supports: best for keeping attachments off trim
Freestanding supports move the display away from the roofline altogether. They suit a homeowner whose main priority is avoiding contact with delicate trim, provided the chosen supports are intended for the display and location.
The limitation shifts from the house to the ground. Placement must account for walkways, irrigation, landscaping, wind exposure, and electrical cords. A support is not suitable merely because it stands upright on installation day.
This approach also changes the appearance. A ground-level display will not reproduce an outlined roof edge. Choose freestanding supports when protecting the house matters more than tracing its architecture. A smaller, well-positioned display is a valid alternative to attaching lights everywhere.
Why the right no-drill method varies
The best attachment for your home depends on these practical conditions:
- Surface condition: Peeling paint, deteriorated wood, and loose components limit where attachments belong.
- Edge shape: Gutter lips and trim profiles determine whether a clip fits without force or movement.
- Lighting load: Match attachments to the intended lights and the manufacturer's load instructions. Do not assume a decorative hook supports a heavier string.
- Exposure: Wind, rain, coastal residue, and dust affect the mounting location and the preparation it needs.
- Access: A roofline that requires working at height changes the installation and removal plan, even when the attachment is simple.
- Removal method: A temporary display still needs a deliberate takedown procedure that protects the finish underneath.
A layout should follow these limits. If a section cannot accept an appropriate attachment, leave it unlit or revise the design.
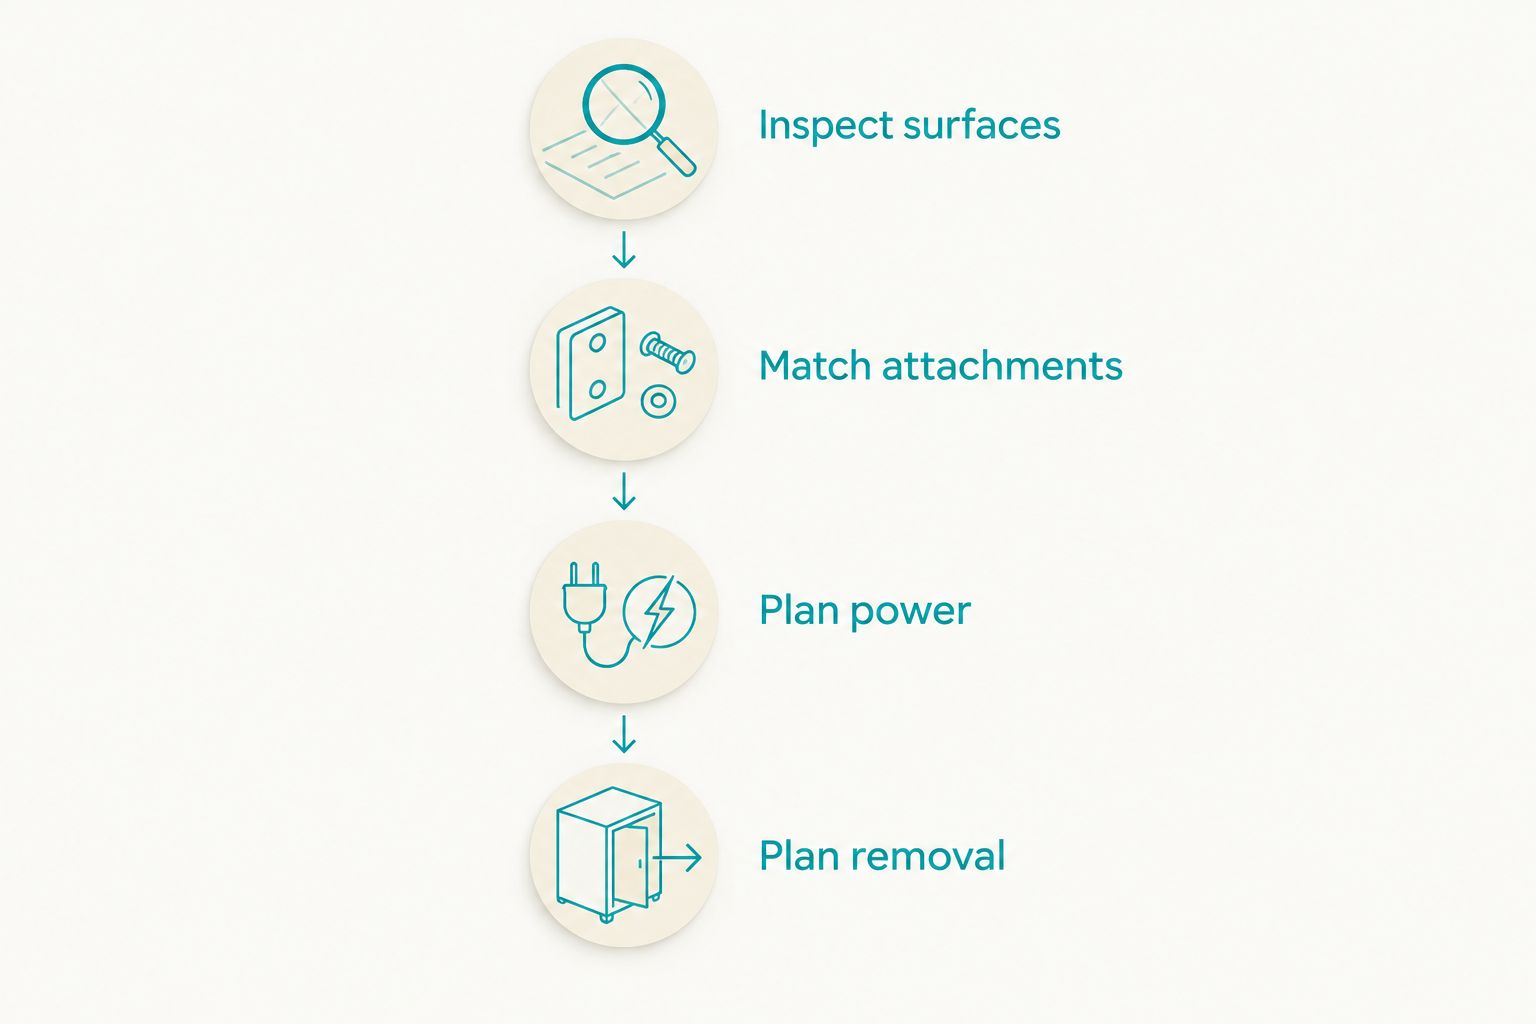
How do you plan a no-drill installation?
Use this sequence before approving your 2026 holiday lighting layout. You do not need to choose every decorative detail first; you need to settle where the display can safely attach.
- Inspect surfaces. Review gutters, fascia, trim, paint, and proposed contact points. Identify fragile or deteriorated areas that should remain untouched.
- Match attachments. Check the attachment instructions against the surface, edge profile, lighting load, and outdoor conditions. Rule out methods that require force or an unapproved surface.
- Plan power. Locate a suitable outdoor power source and route cords clear of doors, windows, walkways, and drainage paths. Confirm the equipment is intended for outdoor use.
- Plan removal. Agree on how clips or hooks will be released and how lights will be taken down without pulling against the house.
This order keeps the design grounded in the building. It also gives you a clear way to compare proposals: ask each installer to explain the same contact points, rather than comparing appearance alone.
Does no-drill installation make electrical safety simpler?
No. Avoiding holes protects one part of the house; it does not replace safe electrical setup. Use lights, extension cords, and connections rated for their intended outdoor use, and follow the equipment's connection limits.
Outdoor holiday lighting should use GFCI protection. Inspect cords and light strings for damaged insulation, loose connections, or broken components before installation. Keep connections out of standing water and follow the manufacturer's directions for weather protection.
Do not run a cord through a closing window or door. Do not use a metal fastener to clamp an electrical wire against trim. If the proposed route needs either shortcut, revise the route.
Working from a ladder is a separate risk. A clip-on attachment does not make a difficult roof edge safe to reach. Discuss access before agreeing to lights along an upper roofline.
What should you ask before approving the work?
For a 2026 quote, ask for a clear description of the attachments and their contact points. You should know whether the plan involves gutters, trim, adhesive contact, or freestanding supports before work starts.
Useful questions include:
- Will any part of the installation require drilling, nails, staples, or permanent fasteners?
- Which surfaces will the attachments touch, and why are those surfaces suitable?
- What happens if the proposed clip does not fit the existing edge?
- How will cords avoid windows, doors, and walking routes?
- Who handles removal, and what does that work include?
Removal is a scope question, not an assumption. Read the guide to whether holiday light installation includes removal before comparing proposals.
Lavarecleans holiday lighting is best for homeowners in Santa Barbara, Montecito, Ojai, and Ventura who want a local crew. Request a free in-person quote and ask the crew to assess a no-drill approach for your home. The mounting method still depends on what the surfaces can safely accept.
Lavarecleans emphasizes careful work and promises to return and make it right if you are unhappy. Agree on the attachment and removal plan as part of that conversation.
Request a free in-person quote
Discuss your holiday lighting layout, attachment points, and trim concerns with the local crew.
Can clips damage painted trim even without holes?
Yes. Clips can mark a finish, catch loose paint, or stress an edge when the fit is wrong. Inspect the paint and trim first, use attachments approved for the profile, and stop if fitting a clip requires force.
Can lights hang from the cord between attachment points?
The lighting manufacturer's instructions determine how the string should be supported. Do not use cord tension to compensate for missing attachments or an unsuitable mounting point; adjust the layout instead.
FAQ
Can holiday lights be installed without drilling into my trim?
Yes. Compatible removable clips, approved outdoor adhesive hooks, or freestanding supports can avoid drilling into trim. The attachment still needs to suit the surface and lighting load.
What's the best no-drill attachment for holiday lights?
The best attachment is the one approved for your actual mounting surface and lights. Gutter clips suit compatible gutter edges, while trim clips and adhesive hooks have different fit and surface requirements.
Are adhesive hooks safe on painted exterior trim?
Adhesive hooks are suitable only when their instructions approve the surface and conditions. Weak or peeling paint can detach during removal, so no-drill does not mean damage-free.
Can holiday lights be clipped onto gutters with gutter guards?
That depends on the gutter, guard, and clip design. Have the attachment point assessed rather than forcing a clip beneath a guard or changing the guard to make it fit.
Can I staple holiday light cords to the fascia instead?
Do not staple electrical cords to fascia. Staples can damage insulation, and they create holes rather than providing a no-drill installation.
Does no-drill holiday light installation include removal?
No-drill describes the attachment method, not the removal scope. Confirm who handles takedown, how attachments will be released, and what happens to the lights afterward.
Should I clean the trim before adhesive hooks are installed?
Prepare the surface exactly as the hook manufacturer directs. Salt film, dust, moisture, or unsuitable cleaning residue can interfere with adhesion, but cleaning does not make an unapproved surface suitable.
One last thing
Ask how the lights will come off before approving how they go up. A no-drill installation is only part of the plan; a careful removal method protects the same trim you wanted to preserve.
For your 2026 display, mark any surfaces you want left untouched during the quote visit. That gives the installer a clear boundary and leaves room to propose a simpler layout that respects the house.